Makeup Tutorial: Winged Eyeliner 101

Closer to the beginning of 2016, I was reading an article and the young lady featured listed "perfecting her winged eyeliner" as one of her goals for the year. Among other things of course! How many of us feel the same way? I regularly put together outfits that would just be just smashing with a good winged eyeliner. The perfect, simple touch that gives you the much desired, understated cool factor.

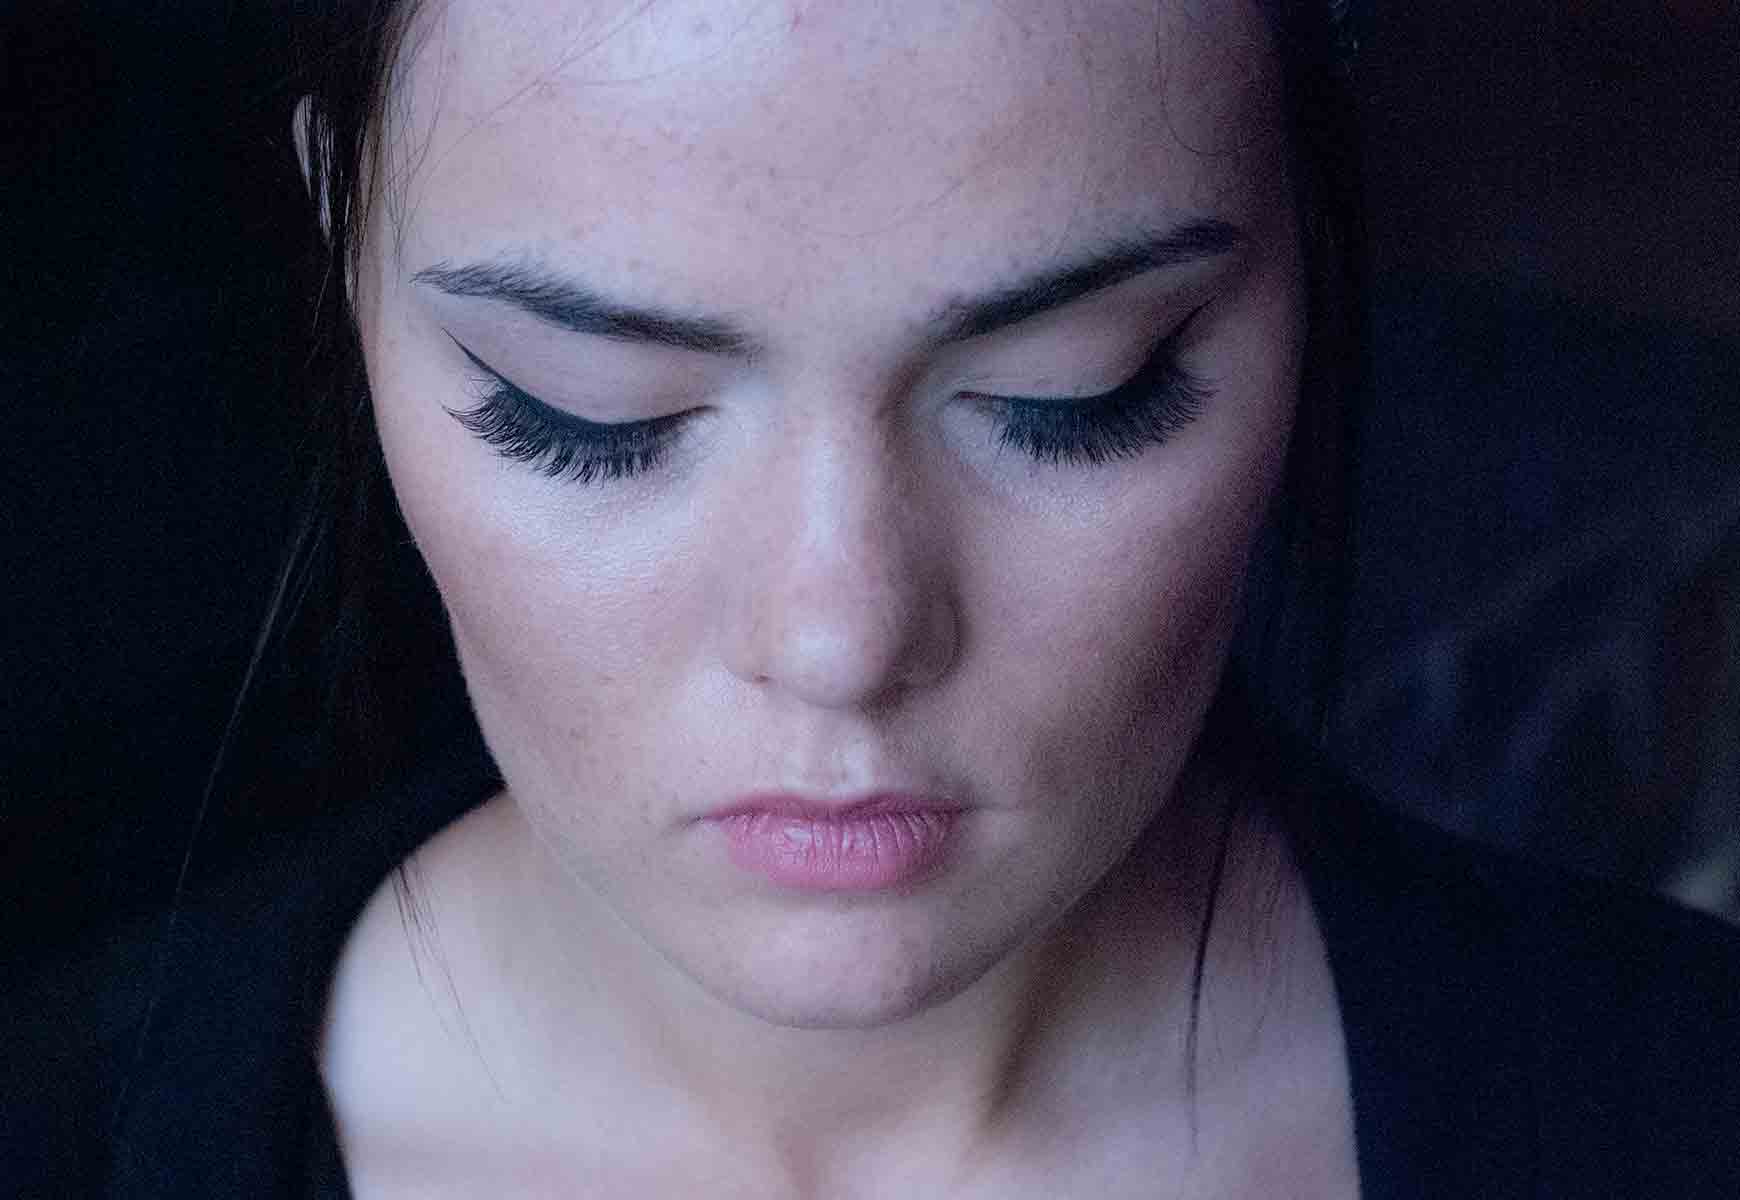
This photo (and the other pretty ones) was taken by the amazing senior photographer, Lj Shepherd Photography!
However, anyone who has tried a winged eyeliner has discovered looks can be deceiving. While they may look sleek and effortless, they take the right product, the right shape, and lots of practice! Back when I was starting out in the makeup industry, I used to absolutely dread when clients would ask me for a wing. I did research on the best types of liner, pinned countless graphs, and watched all kinds of youtube videos. And something finally clicked.
For this tutorial we will be breaking the basic wing into 4 simple steps. Once you have these mastered you can go onto the advanced techniques to create more graphic looks. And yes, there will be tutorials for that as well!
Before we get started you need the proper tools.
-Gel eyeliner. I use the Stila Smudge pots and I love them. They actually stay where they are supposed to!
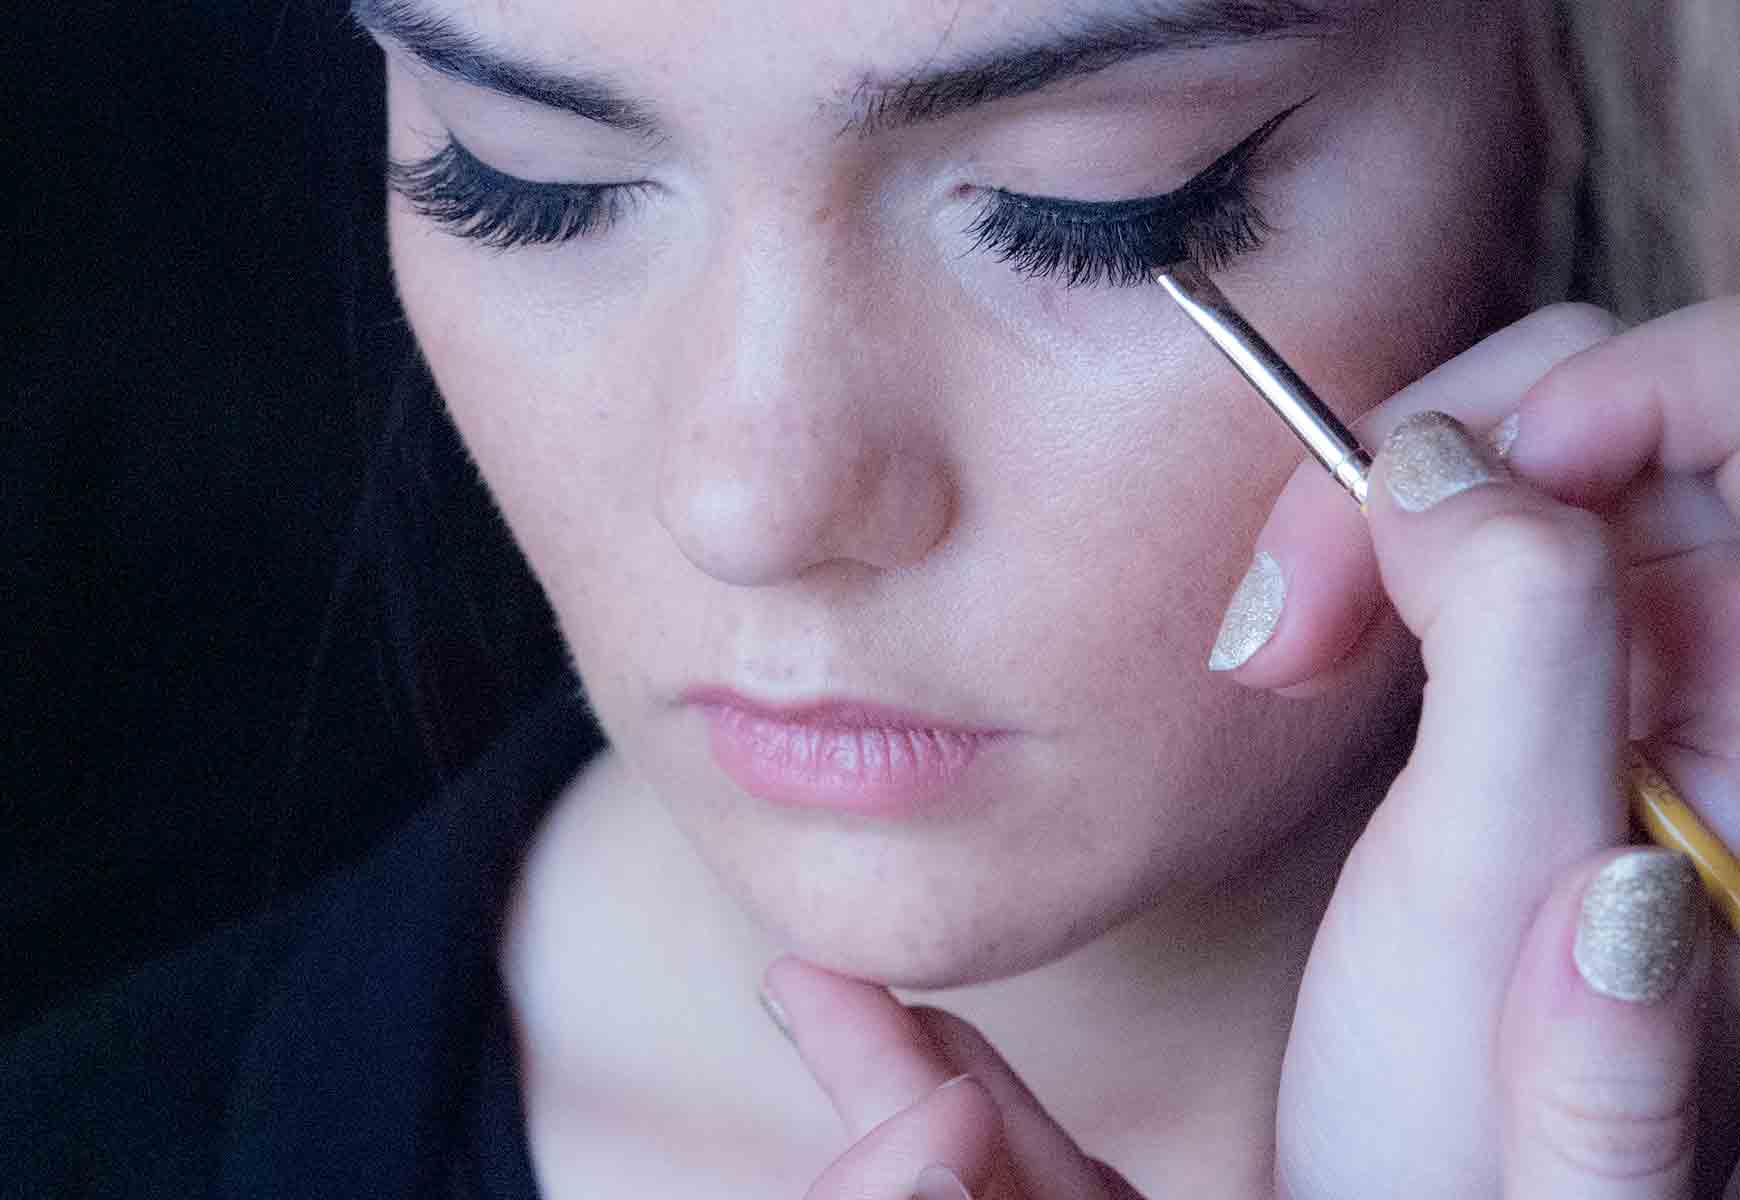
-Angled eye liner brush. Depending on how thin/thick you want your line the size may vary, but I use Bdellium 762.
-Concealer or eye shadow primer
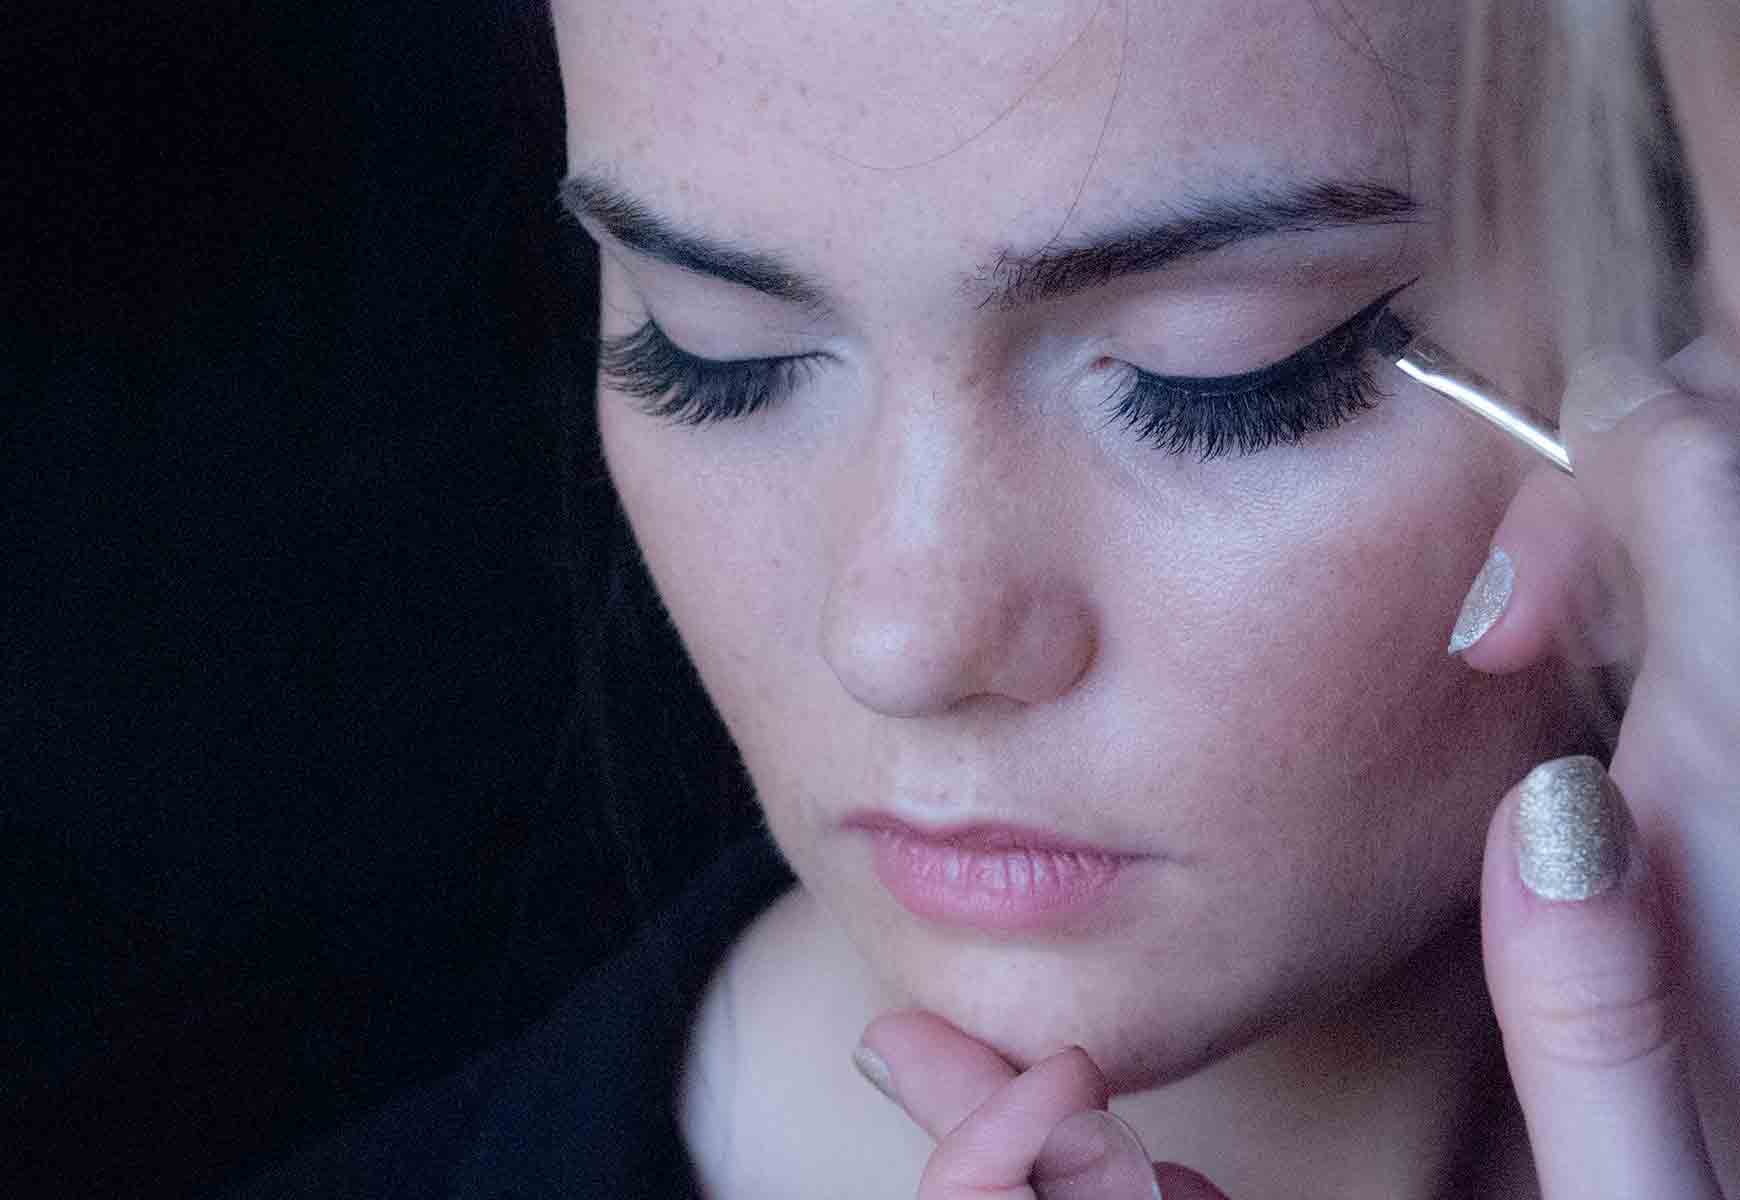
1. After prepping the eye with whatever eye shadow look you would like (for Sydney we just did a matte beige color to even out her skin tone and give us a creamy base to work with.), apply the gel liner across your lash line.
TIP. You may want to start thin and add as you blend the wing later. But good thick wings are great too!
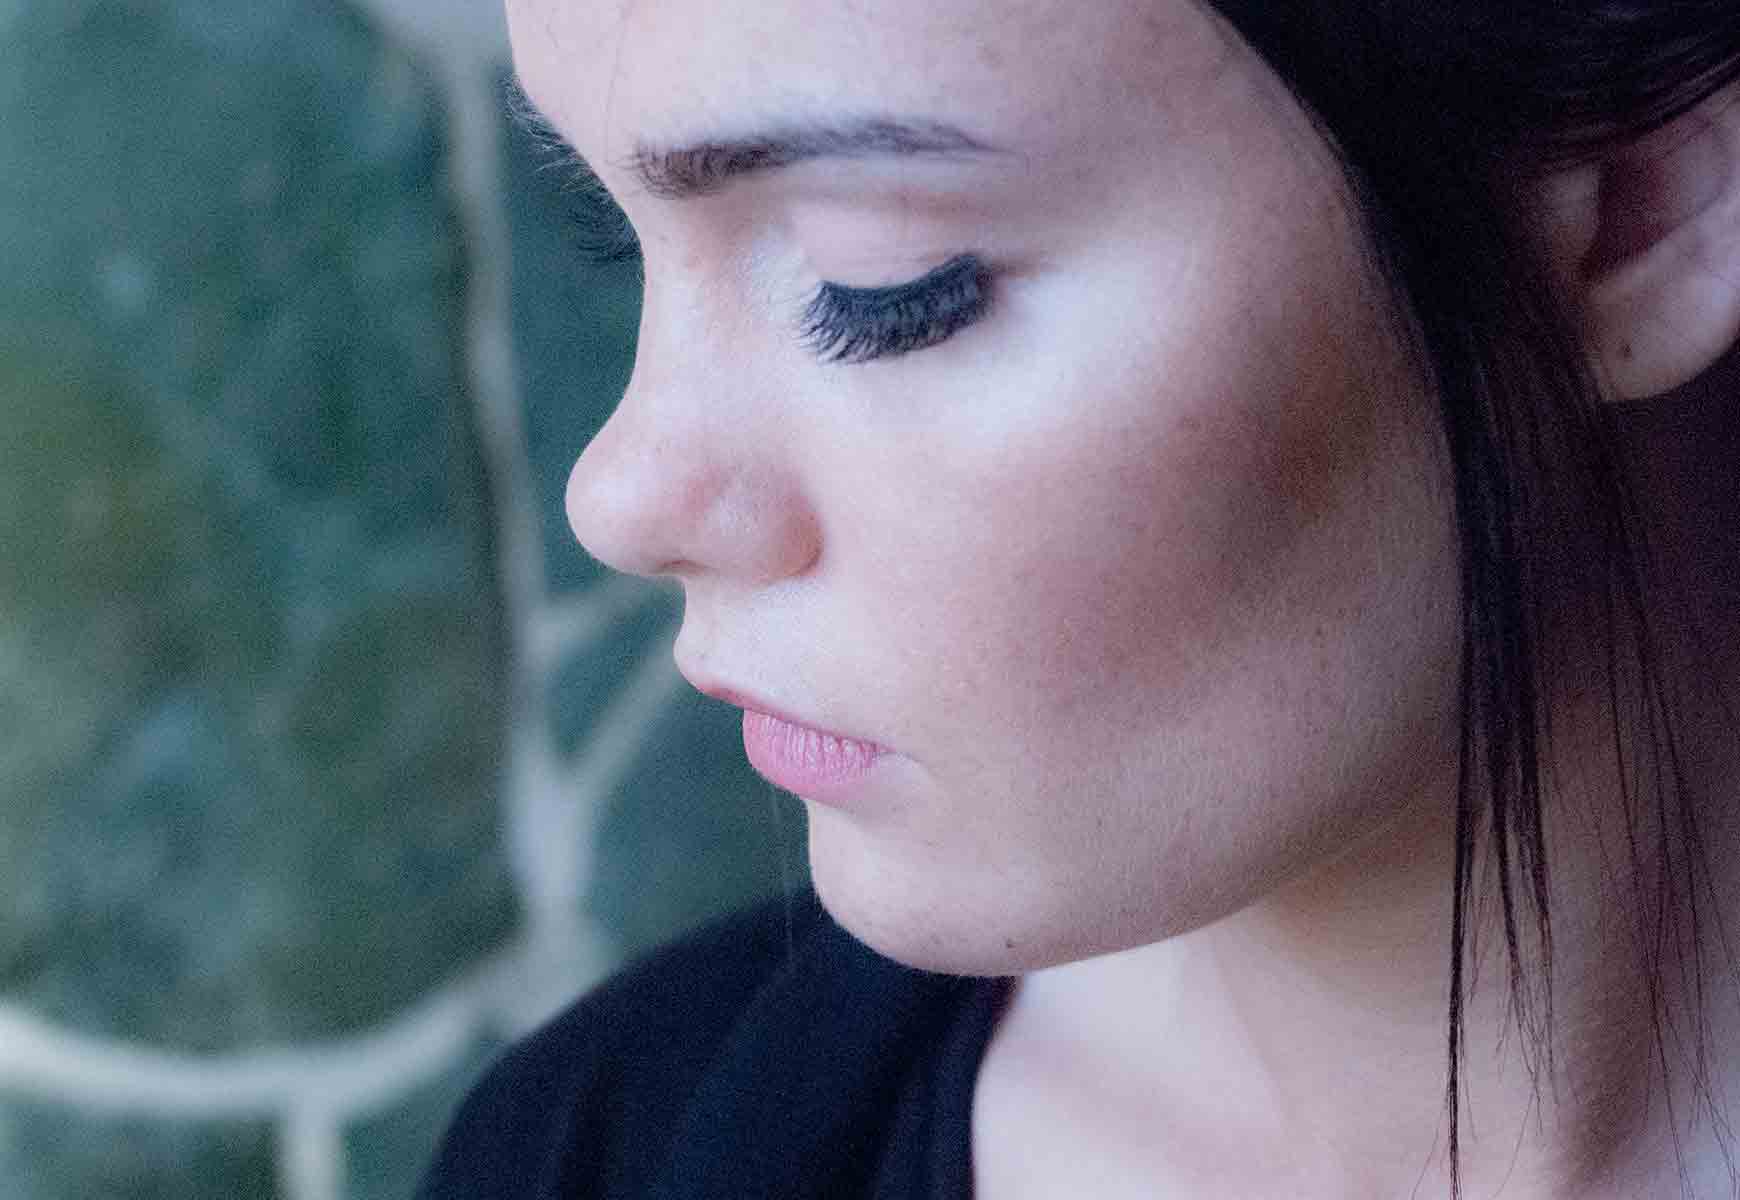
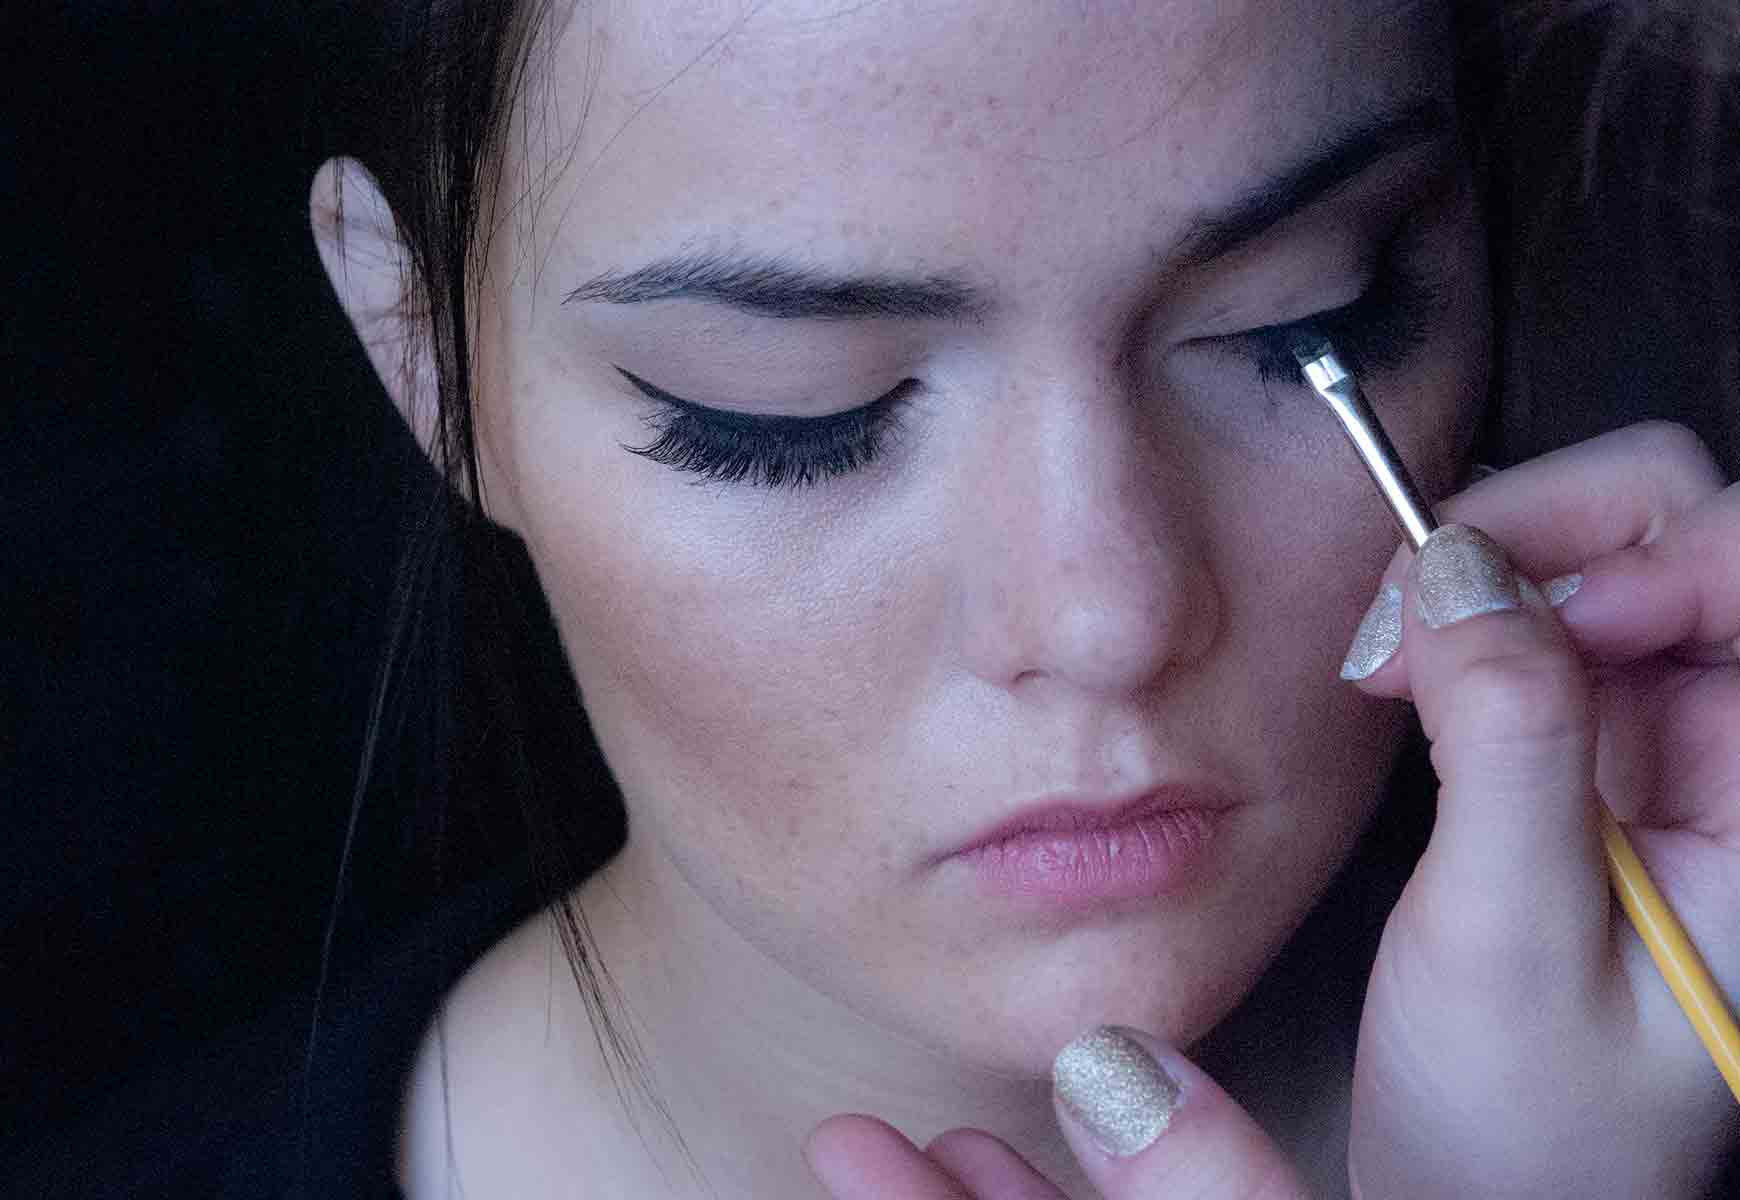
2. Draw an angled line extending up and out to elongate your eye shape. You'll want to follow the shape made by your lower lash line and just extend it.
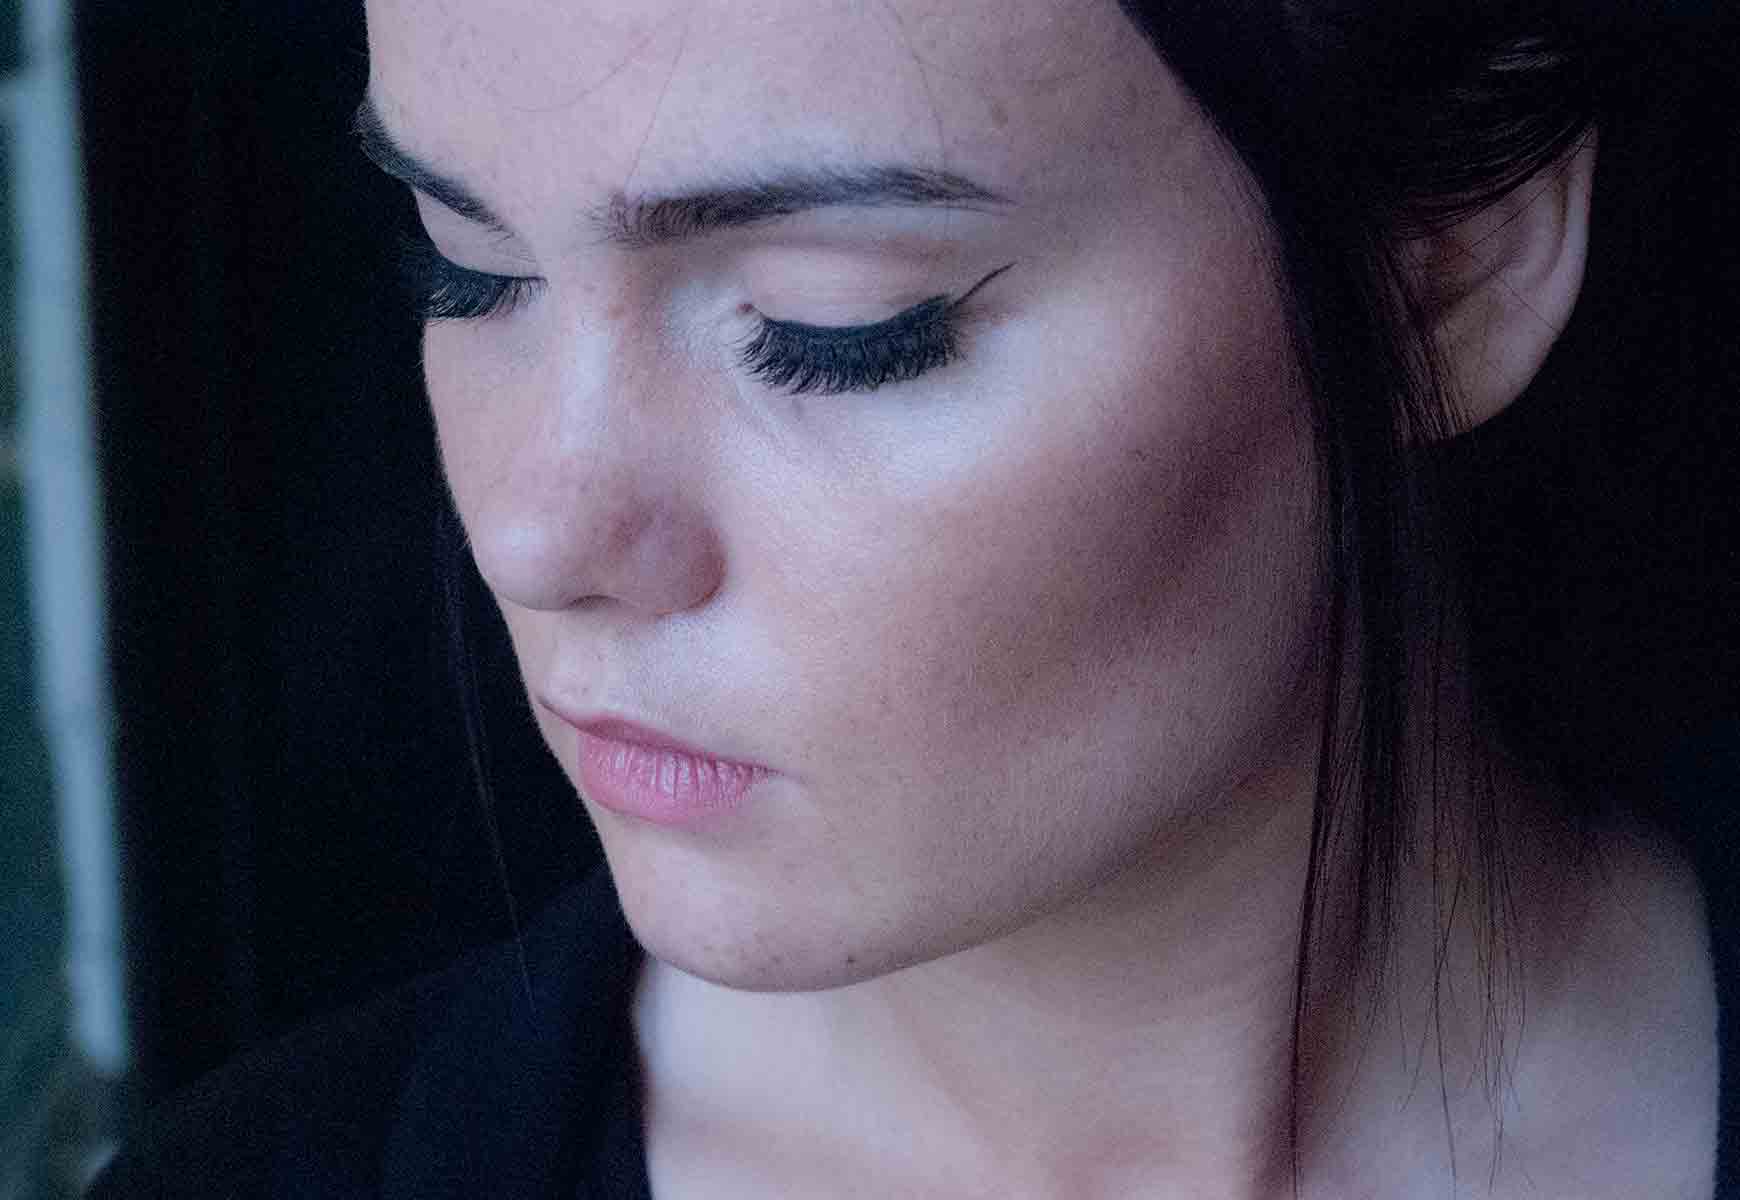
3. Connect the top of the point to the base line, almost making a little triangle.
4.Fill in the blank and smooth out and abrupt edges! Here is where you get to play a little balancing act, which is why starting thin is a good idea.
Once you have these basic steps down (and you get to know your eye shape a little better) you can start having a little more fun with some cool graphic shapes! Baby steps!